Traveling is all about creating memories, and what better way to do that than by capturing amazing photos? Whether you’re a beginner or someone looking to up your photography game, taking professional-looking travel photos doesn’t have to be hard. Let’s dive into some easy, practical tips to help you get those picture-perfect shots on your next adventure!

How to Prepare for Travel Photography
Research Your Destination
Before you even start packing, it’s important to do some research. Spend a little time learning about your destination—the landmarks, the local culture, and the best photo spots. For example, is there a popular view that’s best photographed at sunrise or sunset? You can even use social media platforms like Instagram or travel blogs to find inspiration. By having a few locations in mind, you’ll be more prepared to take great shots instead of wasting time figuring out where to go once you’re there.
Gear Essentials
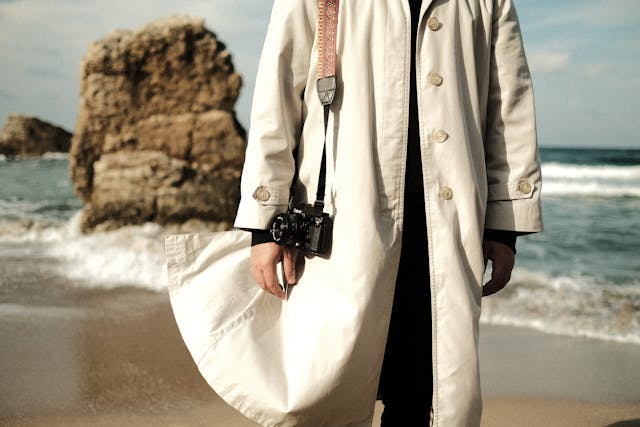
You don’t need a fancy camera to take good photos, but having the right gear can definitely help. If you’re using a DSLR or mirrorless camera, pack a versatile 18-55mm lens or a prime lens that suits your style. Those who prefer using their phone should consider picking up some accessories like a phone tripod or a clip-on lens. Don’t forget extra batteries, memory cards, and a lightweight tripod if you plan on shooting at night or in low light. These essentials will make sure you’re ready for different types of shots without being overwhelmed by too much equipment.
Travel Light
It can be tempting to bring every piece of camera equipment you own, but trust me—keeping it simple is better. Traveling light helps you stay comfortable and focus more on the experience instead of being weighed down. Choose a small camera bag, just big enough to hold what you need. A lightweight camera and one or two lenses are often enough to cover most situations. If you’re using a smartphone, all you really need is a small pouch for accessories like a lens kit or a portable power bank.
Understanding Light and Timing
Golden Hour vs. Blue Hour
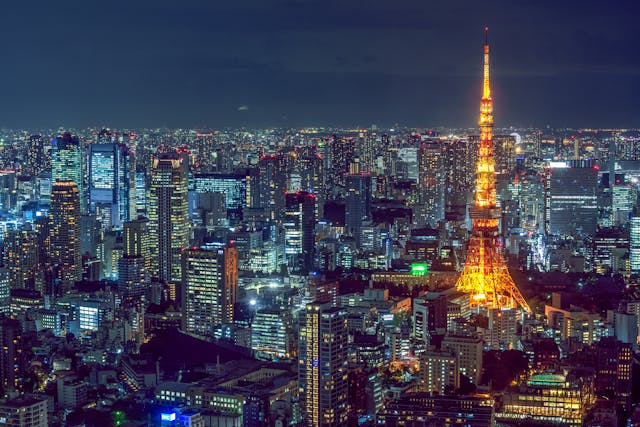
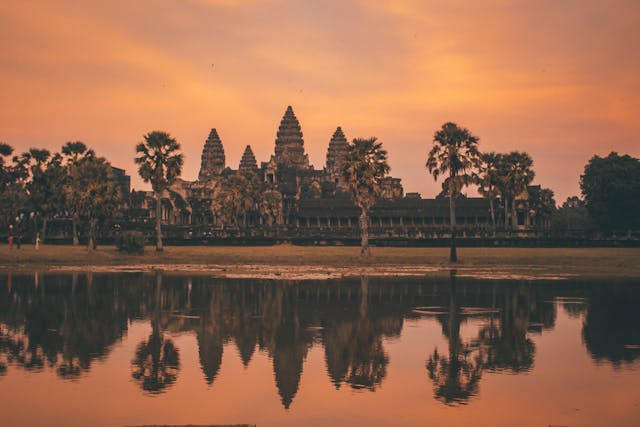
Light is one of the most important elements in photography, and learning how to work with it can make a big difference. The golden hour—right after sunrise or just before sunset—gives your photos a warm, soft glow, which is great for portraits, landscapes, and urban scenes. During this time, shadows are softer, and the overall lighting is more forgiving. The blue hour, on the other hand, happens just after the sun sets or before it rises, when the sky is a beautiful deep blue. This time is perfect for capturing more moody or dramatic scenes, especially cityscapes.
Overcast vs. Sunny Days
The weather can change the way your photos look, but there’s no need to worry if it’s not perfectly sunny. Overcast days give a softer, even light, which is ideal for portraits since there aren’t any harsh shadows. On sunny days, take advantage of the natural contrast for vibrant colors and play around with shadows to create a more dynamic feel. Knowing how to adapt to the weather will help you take good photos no matter the conditions.
Related: Luxembourg Itinerary: How to Experience the City Like a Local
Composition Techniques
Rule of Thirds
The rule of thirds is one of the easiest ways to improve your composition. Imagine dividing your frame into nine equal parts with two horizontal and two vertical lines. By placing your subject along these lines or at their intersections, you create a more balanced and visually appealing image. Many cameras and smartphones have a grid option that you can turn on to help you compose your shot this way.
Leading Lines and Natural Frames
Leading lines are a great way to draw attention to your subject. These lines can be anything—roads, pathways, rivers, or even fences—that naturally guide the viewer’s eye to the main part of the image. Similarly, using natural frames like windows, doorways, or tree branches can add depth to your photo and focus attention on the subject. It’s all about using the environment to enhance the story you want to tell.
Perspective and Angles
Experimenting with different perspectives can make your photos stand out. Instead of always shooting from eye level, try getting low to the ground or finding a higher vantage point to capture your subject. Shooting from unique angles can add a new dimension to otherwise ordinary scenes. For example, capturing a bustling market from above can show the scale of the place, while getting down low for a shot of a monument can make it appear more imposing. Don’t be afraid to move around and find that perfect angle.
Also read: Why Choose an Elvis Wedding at The Little Vegas Chapel?
Capturing the Local Culture
People and Portraits
One of the best ways to capture the essence of a place is by photographing its people. Whether it’s a street vendor, a musician, or a local artisan, these portraits can tell powerful stories. When taking photos of people, be respectful—always ask for permission when possible, especially if you want to take a close-up. A friendly smile and a polite request go a long way in making sure your subject feels comfortable. Candid shots are also a great way to capture natural moments. If you see someone doing something interesting, like making handicrafts or playing an instrument, take a step back and let the scene unfold naturally.
Storytelling Through Photography
To really convey what makes a place special, think about creating a series of photos that tell a story. Start with a wide shot to establish the scene, then move in closer for detailed shots that highlight individual elements. For instance, if you’re photographing a local market, take a wide shot of the market stalls, then get close-ups of colorful produce or a vendor’s hands while they’re working. This way, your photos together can give viewers a deeper sense of the location.
Editing Tips for Travel Photography
Basic Photo Editing Tools
Editing is where your photos can really come to life, but you don’t need to be an expert. Many user-friendly editing apps like Lightroom or Snapseed can help bring out the best in your shots. Start by adjusting the basics—brightness, contrast, and saturation. Tweaking these elements can make your images pop without making them look over-processed. You can also try playing around with shadows and highlights to add more depth.
Don’t Overdo It
It’s easy to get carried away with filters and effects, but remember that less is often more. Over-editing can make your photos look unnatural, and it may take away from the original beauty of the scene. Keep your edits simple—just enhance what’s already there instead of trying to completely change the look of the image. A good rule of thumb is to make sure the final photo still looks like the place you remember visiting.
Also read :Tie the Knot in Style: Punta Cana Private Boat Wedding
Quick Tips for Different Photography Scenarios
Landscape Photography
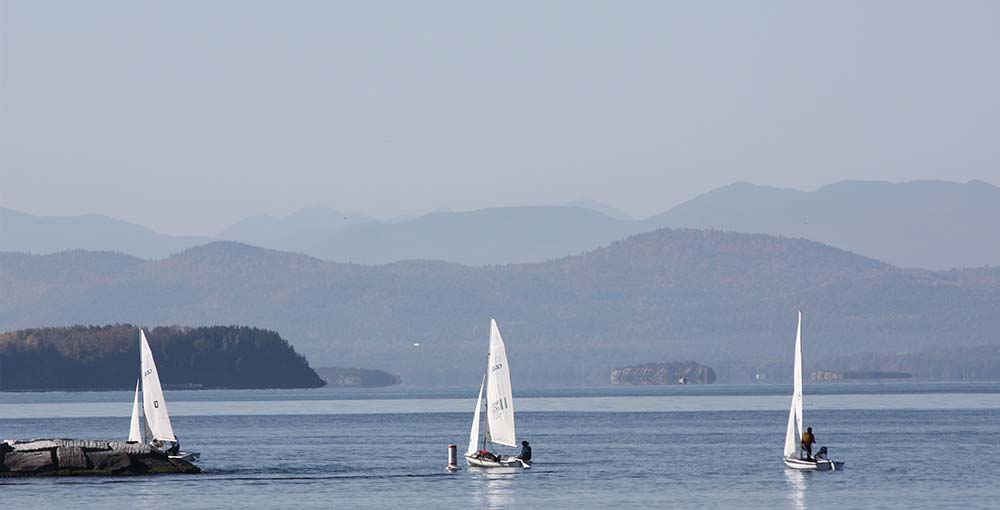
When photographing landscapes, it’s important to create a sense of depth. Try including a foreground element, like a tree or rock, to give your photo a sense of scale. Leading lines like rivers or trails can help guide the viewer through the image. If you’re photographing a large mountain or a vast desert, including a person in the frame can give the landscape a sense of proportion and make it feel more impressive.
Urban Photography
Cities offer a lot of opportunities for creative shots. Look for interesting architecture, reflections in puddles or windows, and moments that show the energy of the place. Shooting from different angles can make a big difference—try taking pictures from the ground looking up to capture the height of buildings or use staircases and overpasses for a unique viewpoint. Street art, bustling crowds, and night lights are all great subjects to experiment with in urban environments.
Night Photography
Night photography can be challenging, but it’s also a great way to capture a different side of a place. When shooting in low light, using a tripod is essential to avoid blurry photos. If you don’t have a tripod, find a stable surface like a railing or a bench to steady your camera. Increasing the ISO can help you get a brighter photo, but don’t go too high—otherwise, your image might end up with too much noise. Also, play around with long exposures to capture light trails from cars or the glow of city lights. The key to night photography is patience—finding the right balance between light and exposure takes practice.
Conclusion
Travel photography is not about having the best gear—it’s about capturing the essence of a place and the moments that make your trip memorable. With a little preparation, understanding of light, and practice with composition, you can take photos that truly stand out. So grab your camera, experiment with these tips, and, most importantly, have fun!
FAQ: How to Photograph Your Travels Like a Pro
How do I prepare for travel photography?
Research your destination to find the best spots and plan your shots. Pack essential gear, like a lightweight camera, one or two lenses, and extra batteries, but avoid overpacking to stay mobile.
What is the best time of day to take travel photos?
The best times are during the golden hour (right after sunrise and before sunset) and the blue hour (just after sunset or before sunrise) for soft, beautiful lighting.
How can I improve my photo composition?
Use the rule of thirds, leading lines, and natural frames to make your shots more engaging. Experiment with different angles and perspectives to add variety to your photos.
How do I capture the local culture in my photos?
Photograph people in their natural environment—ask for permission and focus on candid moments. Capture daily life, markets, and customs to tell a story about the destination.
What are some easy editing tips?
Use beginner-friendly apps like Lightroom or Snapseed to adjust brightness, contrast, and saturation. Keep edits simple to maintain a natural look without overdoing it.
This blog post may contain affiliate links. If you click on one and make a purchase, I may earn a small commission at no extra cost to you.


